Table of Contents
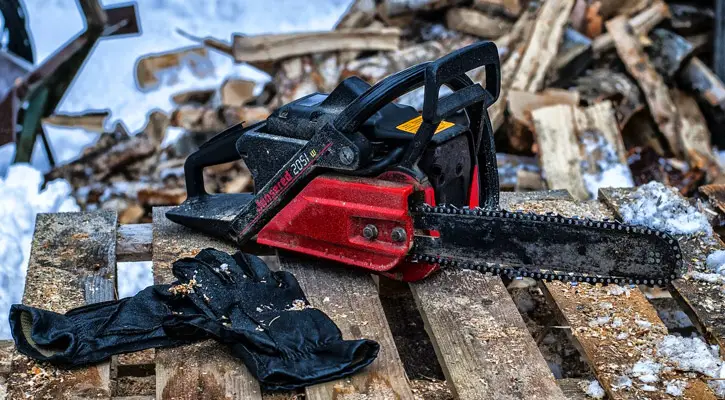
Is your chainsaw filthy?
Do you want it to sparkle like new again?
If so, this guide is for you.
Below, I’ll teach you how to clean a chainsaw so it looks spotless and runs like new again.
No matter if your chainsaw is a complete mess or just a tad bit dirty, these same tips apply.
So, let’s get into it!
Steps for How to Clean a Chainsaw
Preparing to Clean the Chainsaw
Before you clean the various parts of your chainsaw, you need to ensure that there’s no power running to the tool. Otherwise, an accident could occur.
So, before you perform any of the cleaning steps below, make these preparations:
- Gas Chainsaws — Drain the fuel tank and disconnect the spark plug connector from the spark plug.
- Battery Chainsaws — Remove the battery.
- Corded Electric Chainsaws — Detach the power cord.
Step 1: Cleaning the Bar
Locate the two nuts on the side cover of the chainsaw that mount the guide bar to the powerhead but don’t loosen them just yet.
On some chainsaws, you can’t remove the cover while the chain brake is engaged. On other models, you might be able to take the cover off but putting it back on becomes difficult. So, always disengage the chain brake before starting this task.
After the chain brake is disengaged, loosen and remove the cover nuts.
Separate the guide bar and chain from the powerhead. Put the chain aside.
If the guide bar is moderately dirty, you can use just soap and water on a rag to clean it. If it’s heavily soiled, then a degreaser solvent may be required to loosen the buildup of gunk.
As for cleaning the chainsaw guide bar groove, you can either use a special groove cleaning tool or a putty knife. Run the tool around the groove until it’s free of any gunk between the rails.
To clean the bar and chain oiler holes (located at the base of the bar), use a pick or thin screwdriver to extract any gunk that’s blocking the holes. Compressed air is also a good thing to use in these small spots. Your guide bar may also have a hole near the tip of the blade for oiling the sprocket. Clean that out too.
Step 2: Cleaning the Chain
In a well-ventilated area, take a bucket and mix one cup of ammonia with one gallon of water.
Place the chainsaw chain in this solution and let it soak for 15 minutes.
Put on a pair of thick rubber gloves for protection. Then, use a soft-bristled toothbrush to scrub each section of the chain until it’s free of debris.
Once the chain is clean, rinse it under water to remove the ammonia solution. Immediately dry the chain after rinsing so that all of the moisture is removed.
Fill a shallow tray halfway with bar and chain oil. Submerge the chain in the oil and let it sit for three hours. After that time, turn the chain over and let it sit for another three hours.
Remove the chain from the tray and use paper towels to dab the chain to get rid of any dripping oil.
Note: If you haven’t sharpened your chainsaw chain in a while, consider doing so after it has dried. Take a look at this guide with the best chainsaw files if you don’t already have one.
Step 3: Cleaning the Powerhead
Wipe the exterior of the powerhead body with a dry cloth.
Use a soft paintbrush (1 to 2″ wide) to dust off any dirt that has lodged around the crankcase, clutch drum, and bar studs.
For thick gunk that’s stuck in those areas, use a pick or thin screwdriver to scrape it out.
Step 4: Cleaning the Air Filter (Gas Models Only)
Remove the top cover of the chainsaw.
Take the air filter out and stuff the air intake with a rag so that no dirt or debris falls into this area.
Use a soft paintbrush (1 to 2″ wide) to remove any collected dust on the air filter.
If the air filter is excessively dirty, run it under water to dislodge any stuck particles. Then, let it completely dry before reattaching.
Step 5: Cleaning the Spark Plug (Gas Models Only)
With the top cover removed, you can access the spark plug.
Using a T-Wrench or the supplied Scrench with your chainsaw, unscrew and remove the spark plug.
If the electrodes are a dark brown color then it should be fine. If they’re black, chipped, or damaged looking, it’s time for a replacement. Check your owner’s manual for the correct spark plug part number.
Step 6: Cleaning the Cooling Fins (Gas Models Only)
Remove the side panel that covers the cooling fins and rope rotor.
Use a thin screwdriver to lightly scrape out any gunk that’s collected between the cooling fins. Be gently here since you don’t want to bend the fins.
Use a soft paintbrush (1 to 2″wide) to remove any collected debris inside the rope rotor area.
Step 7: Reassemble the Chainsaw
Once you have completed the cleaning of your chainsaw, reassemble the parts in reverse order.
What’s Next?
Now that your chainsaw is clean from the inside out, you should notice an increase in performance.
If your chainsaw is still not acting the way you want it too, or it’s just way too dirty and gunked up to get spotless, you may want to consider upgrading your tool.
There are a lot of good options for new chainsaws these days and it’s worth a look even if you’re not considering the purchase of a new one. Sometimes it’s nice to at least know what’s out there for when the time does come to get a new chainsaw.
Here’s a list of guides you may be interested in:
- 10 Best Rated Chainsaws (My most popular list)
- The Best All Around Chainsaw (For those who want the most useful tool)
- The Best Lightweight Chainsaw (Includes small and large models)
- The Best Homeowner Chainsaw (For anyone who needs some good advice)
I hope you enjoyed this post on how to clean a chainsaw.
Happy sawing!

Your pal,
Chainsaw Larry